Introduction
Learning how to install Subtitle Edit 4.0.5 is the first step toward easily editing and managing subtitles. Whether you’re correcting Netflix subtitles, creating translations, or synchronizing dialogue for videos, Subtitle Edit offers an intuitive interface and powerful tools. Installing it correctly ensures smooth operation and access to all its advanced features.
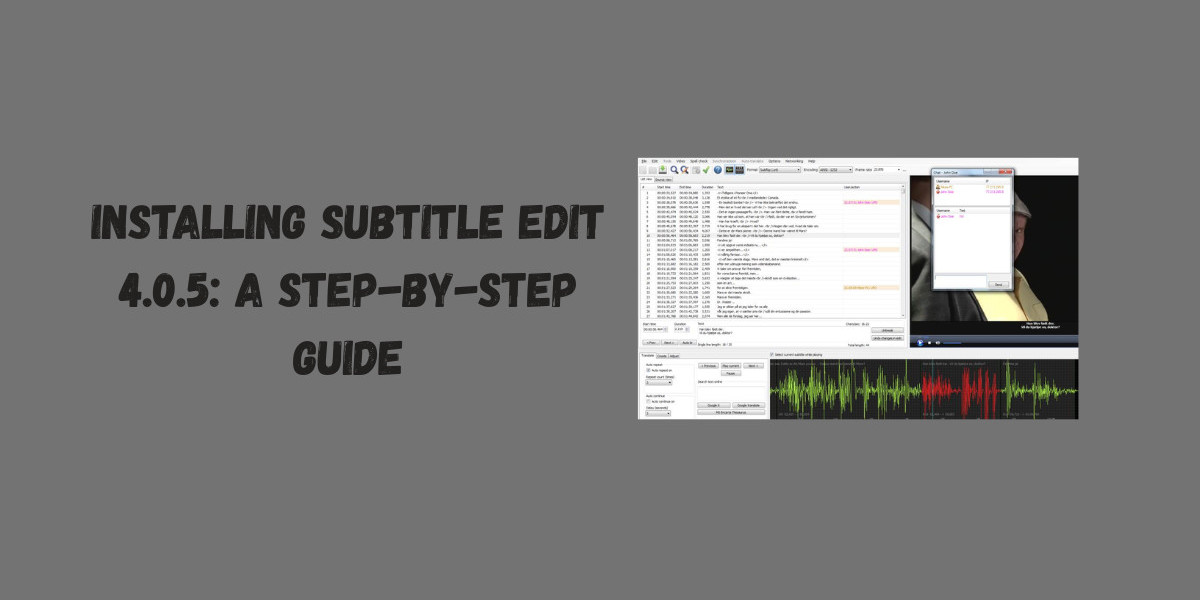
Step by Step Installation Guide
Step 1: Download the Installer
Go to the official Subtitle Edit website and download version 4.0.5.
Choose the appropriate version for your operating system (Windows recommended).
Step 2: Run the Installer
Open the downloaded .exe file.
Follow on screen prompts to select installation folder and options.
Step 3: Choose Optional Features
Enable desktop shortcuts or file associations as needed.
Optionally, install the Spell Check dictionaries for enhanced editing capabilities.
Step 4: Complete Installation
Click “Install” and wait for the process to finish.
Launch Subtitle Edit after installation to confirm it opens correctly.
Step 5: Configure Initial Settings
Select your preferred language and subtitle formats.
Adjust default save paths for projects to keep files organized.
Explore the interface to familiarize yourself with essential features.
Tips for a Smooth Installation
Ensure your system meets minimum requirements (Windows 7 or later).
Temporarily disable antivirus if installation is blocked.
Keep the installer in a safe location for future updates.
Check for optional dependencies like .NET Framework if prompted.
Conclusion
Installing Subtitle Edit 4.0.5 correctly ensures a reliable and efficient subtitle editing experience. With this setup, you can edit, sync, and translate subtitles for any video project. Using Subtitle Edit allows content creators and viewers to customize subtitles with ease, improving both accessibility and enjoyment.