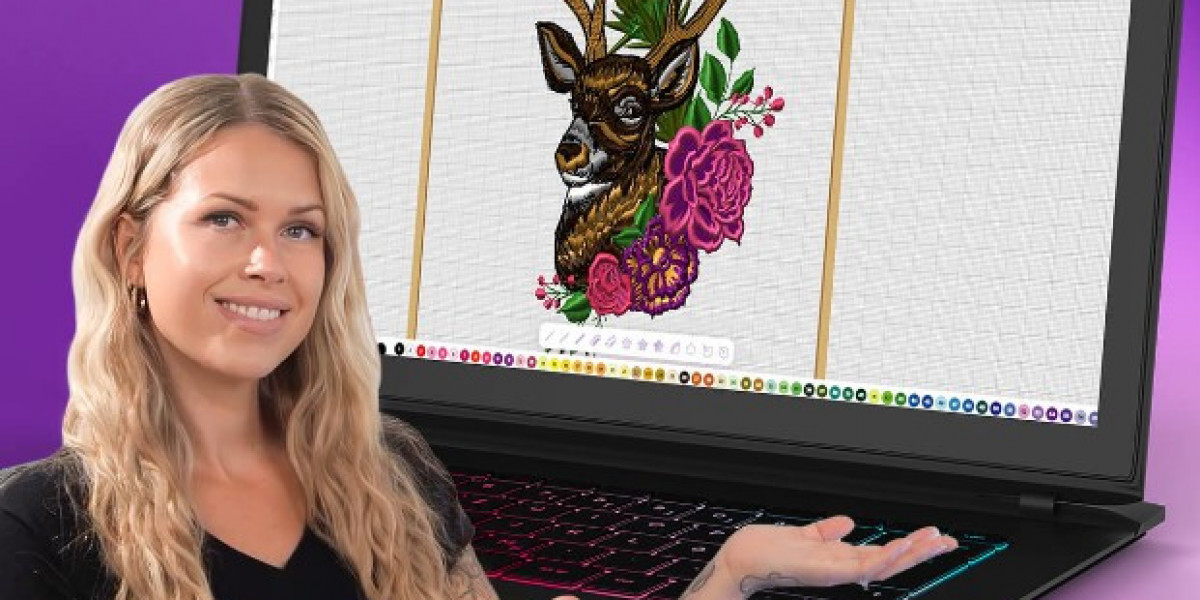
So, you've created a beautiful design—maybe a logo, an illustration, or even a doodle—and you're ready to stitch it on a hat, shirt, or tote bag using your Brother or Babylock embroidery machine. That’s awesome! But first, you’ll need to convert artwork to PES file, which is the format these machines can understand.
If you're new to embroidery digitizing, don't worry. This beginner-friendly guide walks you through what PES files are, why they matter, and how to convert your artwork step-by-step. Whether you’re a hobbyist or just starting your custom embroidery business, this guide is for you.
Want a quick and professional way to get your artwork digitized into a PES file? Digitizing Buddy offers fast, affordable, and precise digitizing services tailored specifically for Brother and Babylock machines. Simply upload your artwork and receive a stitch-perfect PES file—no stress, no guesswork.
What Is a PES File, Anyway?
Before jumping into the conversion process, let’s get clear on what a PES file actually is.
A PES file (short for "PE-Design Embroidery Stitch") is a machine embroidery file format used by Brother and Babylock embroidery machines. It contains:
- Stitch instructions
- Color and thread data
- Design placement and size
- Hoop alignment information
In short, it’s the language your machine reads to know exactly where, when, and how to place each stitch.
Unlike regular image files like JPG or PNG, PES files are not graphic images—they're digitized stitch maps.
Can I Just Use a PNG or JPG File?
Nope—embroidery machines can’t read images like a computer can. Even though you can see your beautiful design on-screen, your machine needs stitch commands, not pixels.
That’s why you need to digitize your artwork—which means translating the image into instructions your embroidery machine can follow.
This is where PES conversion comes in.
Step-by-Step: How to Convert Artwork to PES File
Let’s break it down in a way that’s easy to follow, even if you’ve never done this before.
Step 1: Prepare Your Artwork
Start with a clean, high-resolution version of your artwork.
Tips for best results:
- Use a PNG or SVG file format
- Keep it simple—fewer colors and clean lines work best
- Avoid gradients, shadows, or tiny text
- Transparent backgrounds are helpful
Even hand-drawn designs can work—just scan or take a clear photo and clean it up digitally.
Step 2: Choose How You Want to Convert
You have two main options:
- Do it yourself using digitizing software
- Hire a professional digitizing service like Digitizing Buddy
Let’s look at both.
Option 1: Convert Artwork Using Digitizing Software
Here are beginner-friendly software options that allow you to convert artwork to PES format:
Software | Platform | Cost | Best For |
Ink/Stitch | Windows/Mac/Linux | Free | Vector (SVG) designs |
SewArt | Windows | ~$75 (free trial) | Auto-digitizing JPG/PNG |
Embrilliance StitchArtist | Windows/Mac | ~$170+ | Manual digitizing |
Hatch Embroidery | Windows | Paid (Free trial available) | Professional control |
We’ll show you a quick walkthrough using SewArt, which is one of the easiest tools for beginners.
Use a Professional PES Digitizing Service
If you want your design to look crisp, clean, and production-ready (especially for hats, polos, or products you’ll sell), a professional service is worth every penny.
Why choose Digitizing Buddy?
- Real human digitizers (not just auto-conversion)
- Clean stitch paths, perfect alignment, and color mapping
- Compatible with Brother, Babylock, and other machines
- Quick turnaround—usually under 12 hours
- Affordable pricing (starting under $10)
All you need to do is:
- Visit Digitizing Buddy
- Upload your artwork (PNG, JPG, or even PDF)
- Specify any size or format preferences (e.g., 4x4 inch hoop, PES format)
- Sit back and wait for your stitch-ready PES file!
Bonus Tips for Great Embroidery Results
Here are a few extra tips to ensure your PES design stitches out beautifully:
Use the Right Hoop Size
Make sure your design fits the hoop your machine uses (e.g., 4x4, 5x7, etc.). Too big or too small and the design might be cut off or distorted.
Choose Proper Stabilizer
Backing matters! Use tear-away or cut-away stabilizer depending on the fabric and design density.
Test on Scrap Fabric
Before running your design on your final product, do a test stitch on similar material to check how it turns out.
Common Mistakes to Avoid
Mistake | Why It’s a Problem | Fix It By |
Using low-res JPG | Results in jagged or broken stitch lines | Use high-res PNG or SVG |
Skipping underlay stitches | Causes puckering or shifting | Always use proper stitch settings |
Using auto-conversion only | May result in poor stitch quality | Choose manual digitizing or a pro |
Ignoring hoop size | Design may be clipped or off-center | Match design size to your hoop |
Tiny text or details | Hard to reproduce with thread | Keep text above 0.25" tall |
FAQs About Artwork to PES Conversion
Can I convert SVG directly to PES?
Yes, if you use digitizing software like Ink/Stitch or Hatch. But it still needs to be digitized—not just exported.
Can I use Photoshop to create PES files?
No—Photoshop can edit images, but can’t generate embroidery stitch files. You need specific embroidery software.
Can I open PES files on my computer?
Yes, but you’ll need embroidery viewing software like Wilcom Truesizer or Embrilliance Essentials to see the stitch layout.
What’s the best file format to start with?
SVG and high-res PNG files work best. They’re clean and easy to digitize.
Final Thoughts: From Art to Thread, Made Easy
Converting your artwork into a PES file might sound technical, but with the right guidance—or a little help from pros—it’s totally beginner-friendly.
Whether you're stitching monograms on towels, custom logos on caps, or starting your own Etsy embroidery shop, the PES format is your gateway to embroidery success.


