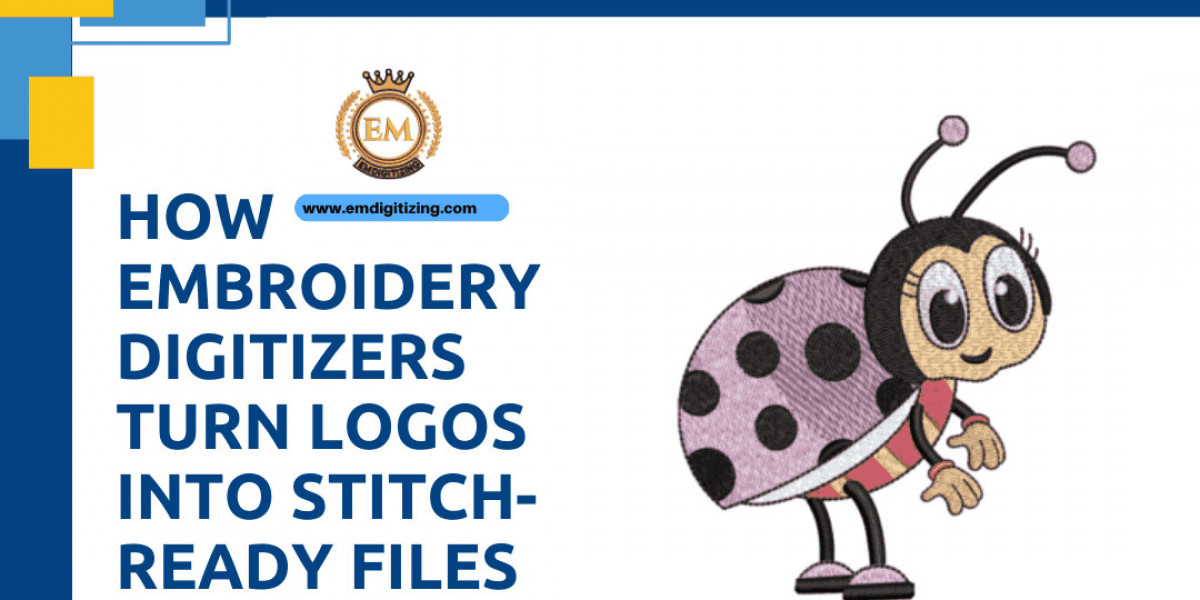
In today’s fast-paced world of fashion, corporate branding, and personalized merchandise, embroidery remains one of the most timeless ways to make a lasting impression. However, unlike traditional printing, embroidery requires specialized preparation. Logos and designs cannot simply be uploaded to a machine and stitched directly. This is where embroidery digitizers come in skilled professionals who transform artwork into stitch-ready files that embroidery machines can read with accuracy and precision.
In this article, we’ll break down the process of how embroidery digitizers take logos from concept to production-ready files, the skills required for this transformation, and why choosing a professional digitizer is essential for high-quality results.
What Is Digitizing in Embroidery?
Digitizing is the process of converting digital or hand-drawn artwork into a file format compatible with embroidery machines. Unlike raster images (JPEGs, PNGs) or vector graphics (AI, SVG), embroidery files contain stitch commands, including:
Stitch type (satin, fill, running).
Stitch direction and angle.
Stitch density.
Color assignments.
Machine instructions for sequencing.
Without proper digitizing, a logo cannot be embroidered correctly, no matter how advanced the machine may be.
The Role of Embroidery Digitizers
While digitizing software is essential, the process requires human expertise. Embroidery digitizers apply their technical knowledge, creativity, and understanding of fabrics to ensure logos not only look good but also stitch smoothly in real-world conditions. They:
Analyze the logo’s complexity.
Decide how to break the design into embroidery-friendly sections.
Adjust for scaling and fabric types.
Ensure stitch durability and clarity at different sizes.
Step-by-Step Process of Turning Logos into Stitch-Ready Files
Step 1: Artwork Analysis
The digitizer begins by examining the logo design. Complex gradients, shadows, and small text often need to be simplified since embroidery machines can’t replicate pixel-based details like a printer. The goal is to balance design fidelity with machine capability.
Step 2: Choosing Stitch Types
Every part of the logo requires the right stitch technique:
Satin stitches for outlines, borders, and small text.
Fill stitches for larger areas of color.
Running stitches for fine details and underlays.
Selecting the wrong stitch type can result in poor clarity or wasted thread.
Step 3: Setting Stitch Direction and Density
Stitch direction creates texture and adds dimension to the embroidery. Density must be carefully adjusted—too high causes thread breaks and fabric distortion, while too low leaves gaps.
Step 4: Applying Underlay Stitches
Underlays act as a foundation, stabilizing the fabric and supporting top stitches. Digitizers strategically apply edge runs, zigzags, or fill underlays depending on fabric stretch and design needs.
Step 5: Color Assignment and Sequencing
The digitizer assigns thread colors to match the logo’s brand identity. Sequencing is also important—placing stitches in the right order avoids unnecessary machine trims and jump stitches, improving efficiency.
Step 6: Testing and Refinement
Once the logo is digitized, a test run (called a "stitch-out") is done on sample fabric. This allows the digitizer to spot issues like thread breaks, misaligned outlines, or density problems. Adjustments are made until the file runs flawlessly.
Why Professional Digitizing Matters for Logos
Logos are the face of a brand, so their embroidered versions must look sharp and consistent. Poorly digitized logos can appear distorted, unreadable, or unprofessional. Professional digitizers ensure:
Brand Accuracy: Colors, shapes, and text remain true to the original.
Scalability: Logos work on small items like caps as well as large apparel.
Durability: Stitches withstand washing, stretching, and wear.
Efficiency: Files run smoothly, saving time and reducing thread waste.
Common Challenges in Digitizing Logos
Small Text and Fine Details
Tiny letters often become unreadable in embroidery. Digitizers adjust fonts, simplify shapes, or use satin stitches to retain clarity.
Color Gradients
Embroidery cannot replicate smooth gradients like printing. Skilled digitizers use techniques like stitch blending and layering to simulate shading.
Fabric Limitations
Logos that look perfect on cotton may pucker on polyester or distort on stretchy knits. Digitizers adjust density and underlay types for each fabric.
Scaling Issues
A logo digitized for a jacket back may not work on a cap. Digitizers create multiple versions optimized for different sizes.
The Technology Behind the Process
Digitizers rely on advanced software such as Wilcom, Hatch, or Pulse. These tools allow them to:
Map stitch directions.
Preview 3D simulations of the embroidery.
Export files in formats like DST, PES, EXP, or JEF.
However, while software is powerful, the human expertise of the digitizer ensures the final outcome meets professional standards.
Benefits for Businesses
High-quality digitized logos offer significant advantages:
Professional Branding: Clean, sharp embroidery elevates brand image.
Cost Efficiency: Fewer production errors mean less wasted material.
Versatility: Digitized logos can be applied across uniforms, promotional products, sportswear, and more.
Consistency: Multiple production runs maintain the same quality.
The Future of Logo Digitizing
The industry is rapidly evolving with AI-powered tools that automate basic digitizing. However, human oversight remains essential, especially for complex logos. In the future, expect hybrid workflows where AI handles repetitive tasks while professionals focus on artistic and technical adjustments.
Conclusion
The journey from a flat logo design to a stitch-ready file is more complex than most people realize. Embroidery digitizers play a critical role in analyzing artwork, applying the right stitches, adjusting for fabric limitations, and refining designs through testing. By blending technical skill with creative decision-making, they ensure logos translate seamlessly into embroidery that is durable, precise, and visually striking.
For businesses, investing in skilled digitizing is more than a technical step—it’s a safeguard for brand integrity and customer satisfaction.
FAQs
Q1: Can any logo be digitized for embroidery?
Yes, but complex designs may need to be simplified for stitching clarity.
Q2: How long does it take to digitize a logo?
Typically, 24–48 hours depending on complexity and revisions.
Q3: Can the same logo file be used on all fabrics?
Not always. Adjustments may be required to suit different fabric types.
Q4: Why not use auto-digitizing software?
Auto tools often miss fabric-specific adjustments, leading to poor-quality results.
Q5: What’s the average cost for logo digitizing?
It varies by complexity but usually ranges between $10–$50 per logo.


